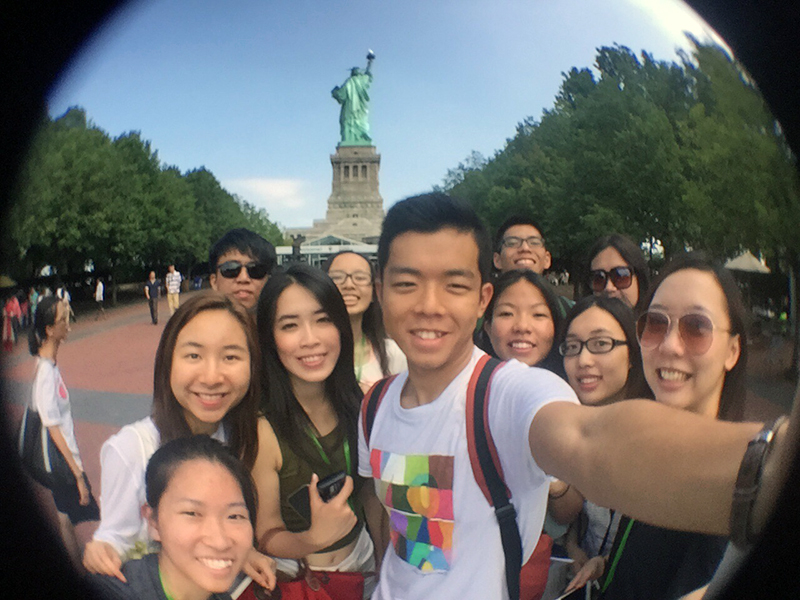
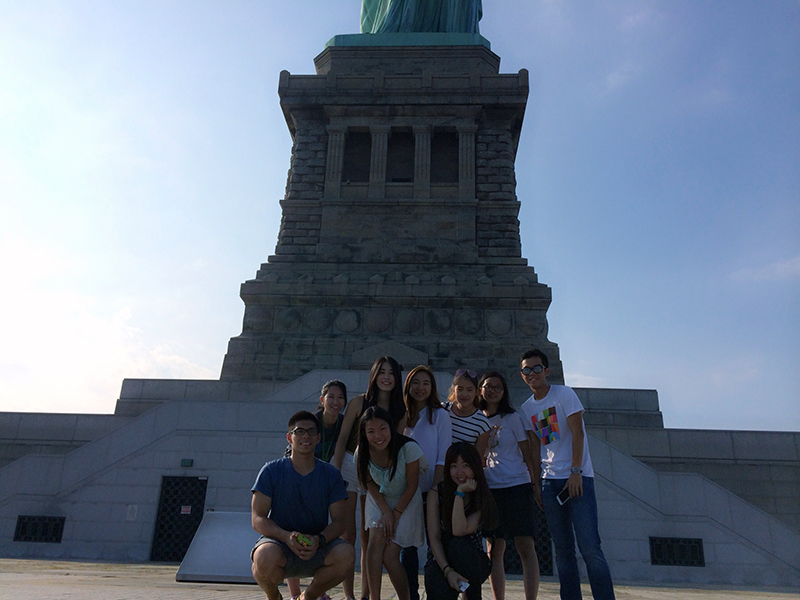
The Statue of Liberty Stands in New York Harbor to commemorate the melting-pot mentality and immigrant-friendly American point of view. The huge stone-carved Roman goddess Libertas, in 1886, was presented to the United States by the French people. Now she is a New York City landmark who greets people coming to the United States from around the world.
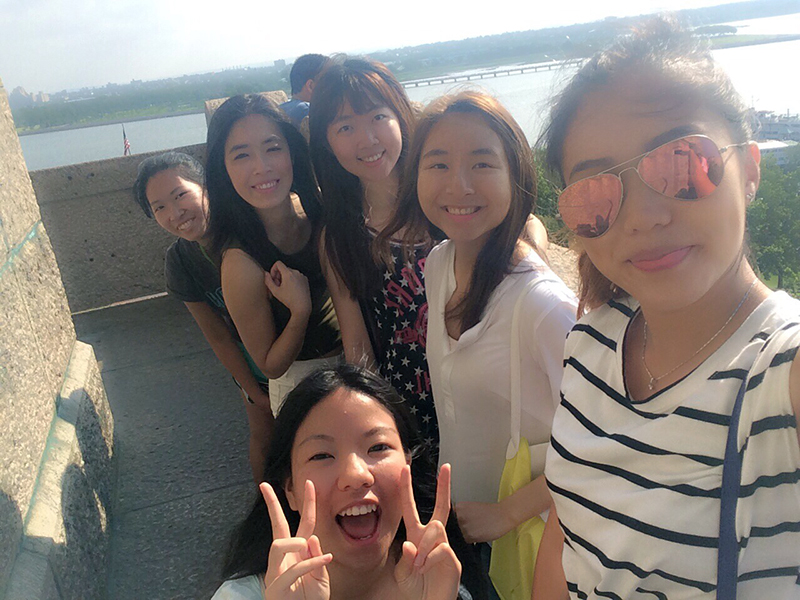
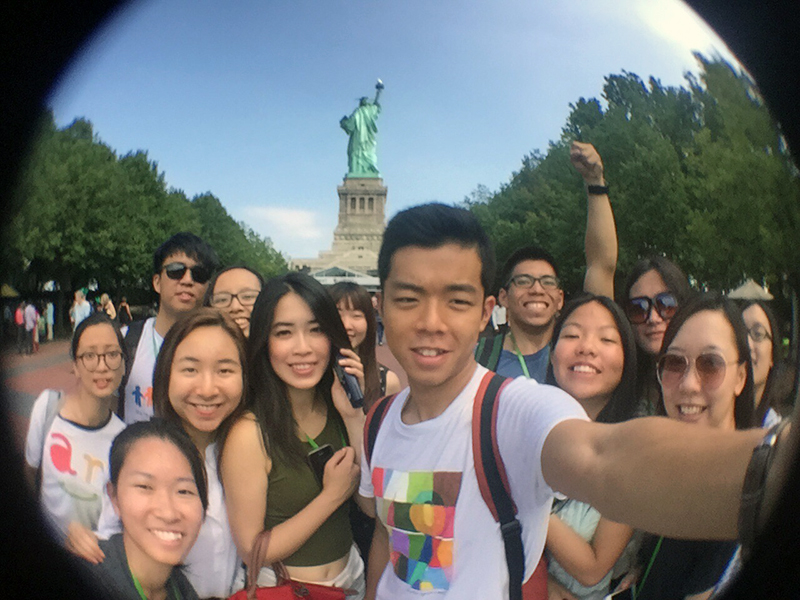
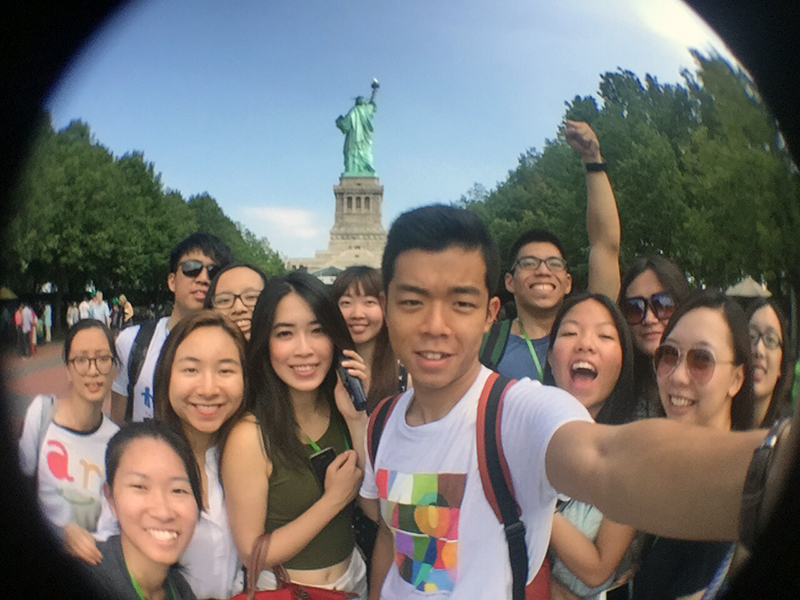
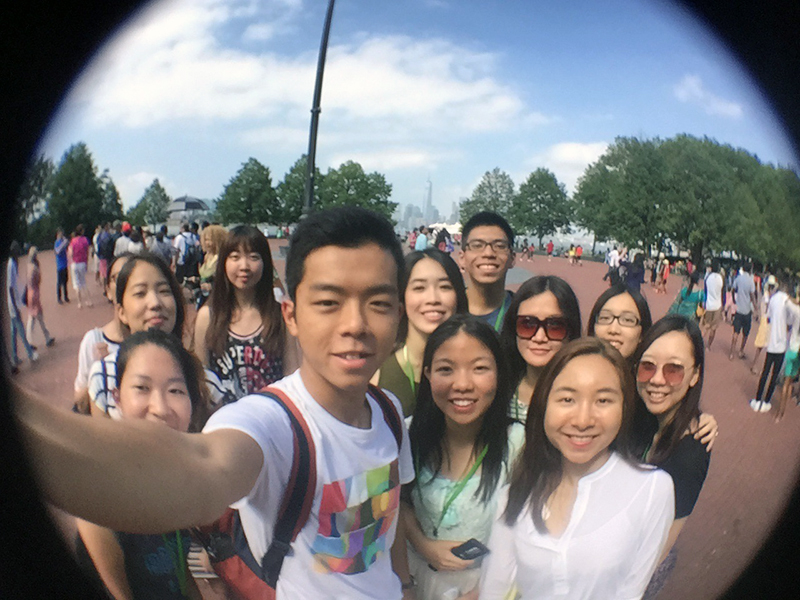
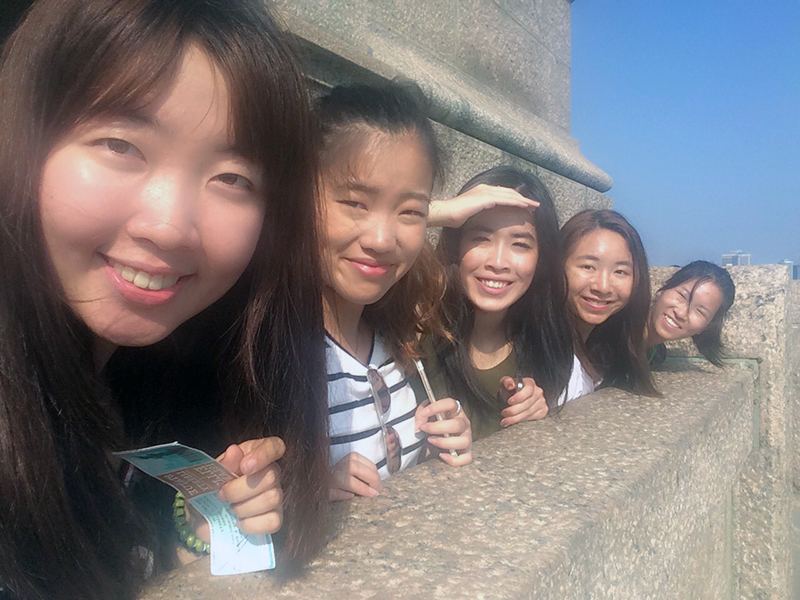
On the afternoon of July 18, CCIP exchange visitors arrived at Liberty Island by boat to pay tribute to the magnificent statue, the largest in America, and visit the immigration-focused museum also on the site.
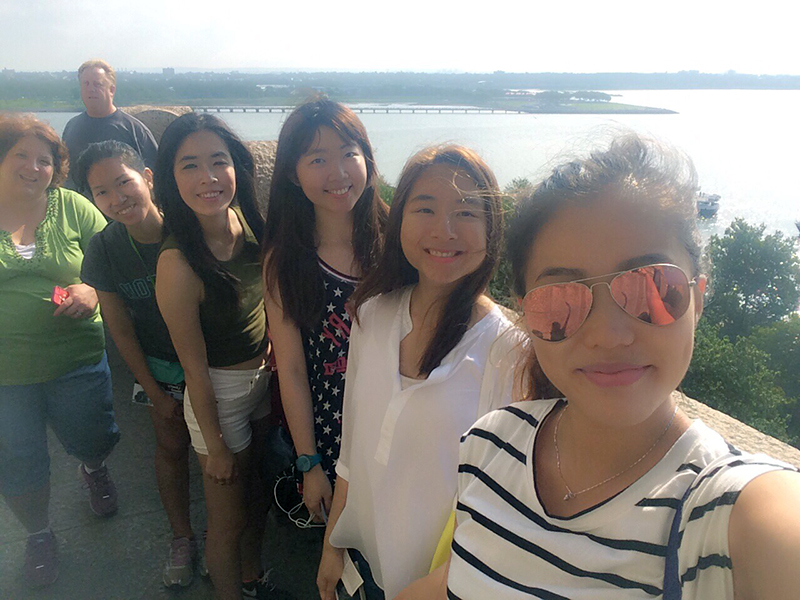
From Macau University of Science and Technology, Irene coordinated the tour and commented, "The date of American independence is engraved on the book in the hand of statue, which even today still inspires oppressed people around the world to pursue freedom and democracy."
"Although my host is located near the Statue of Liberty, such a close look made me feel shocked by its size," said Michael, a student at the University of Hong Kong, who helped organize the activity. "The students have expressed that it is a worthwhile trip."
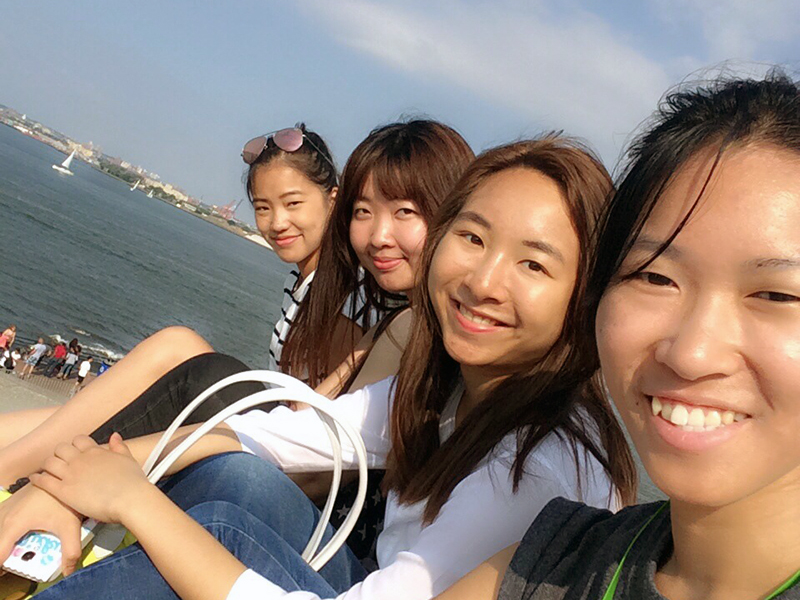
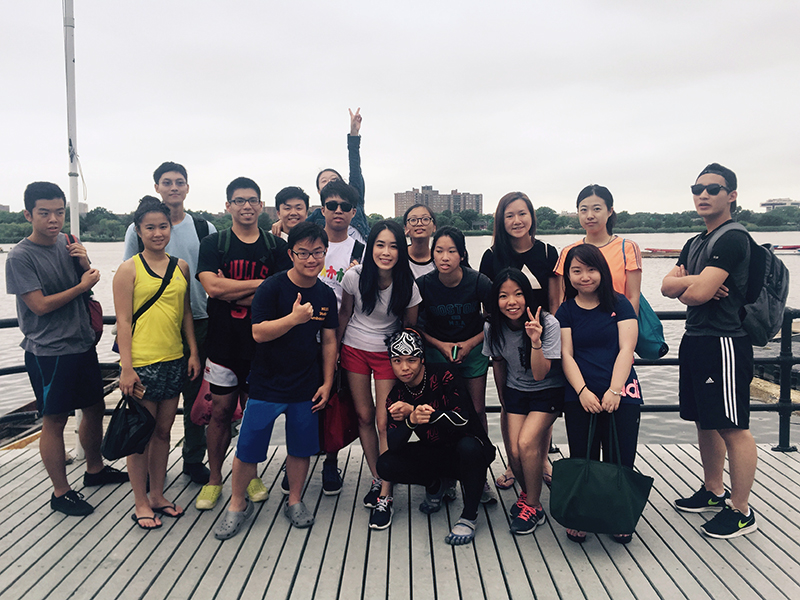
For Session B students, the new internship has just begun. The much anticipated Hong Kong Dragon Boat Festival will be held in August, and the relevant preparatory work is in full swing. Dragon boat team members recently attended the first training in the morning then rushed to the Statue of Liberty.
"During the training, everyone was enthusiastic and worked together to strive to achieve excellent results for the upcoming race!" exclaimed dragon boat captain Daniel from Nanyang Technological University.
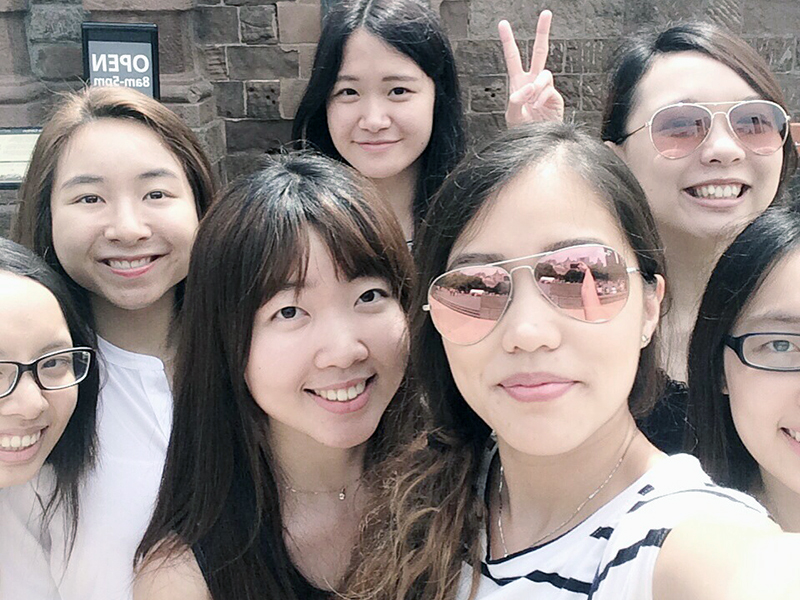
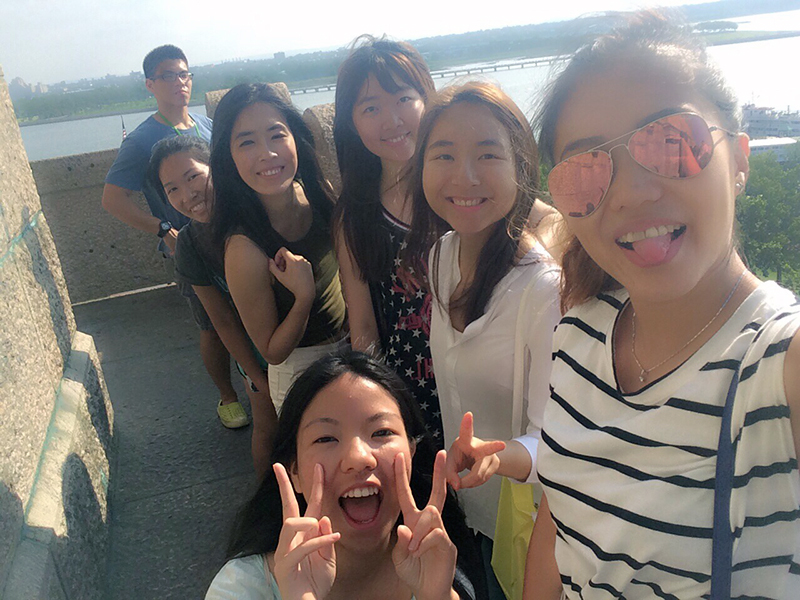
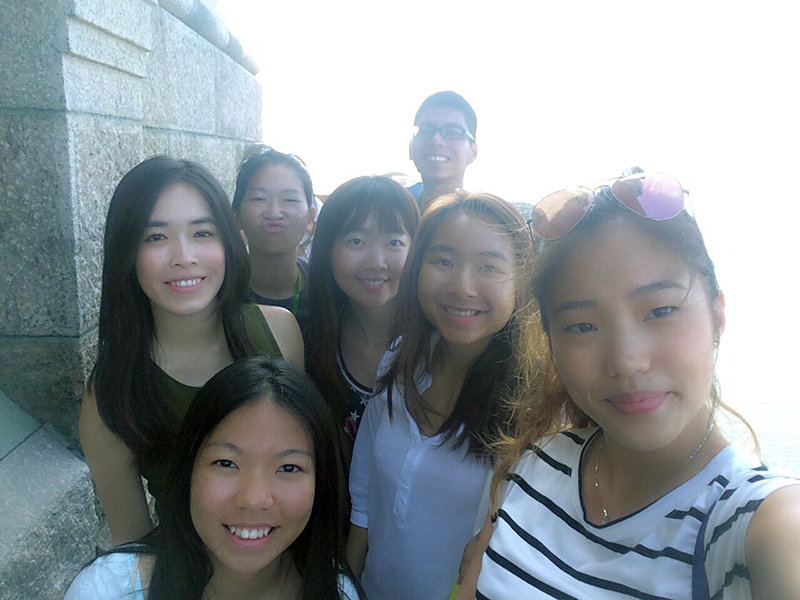
For Session C students, the internship has ended, and the Statue of Liberty was their last group activity. It is widely felt that the ten weeks they spent with the CCIP family will become precious memories in the future.
Copyright (c) 2025 | All rights reserved | FUSIA Communications

.jpg)
.jpg)
.jpg)
.jpg)

.jpg)

.jpg)
.jpg)

.jpg)


.jpg)
