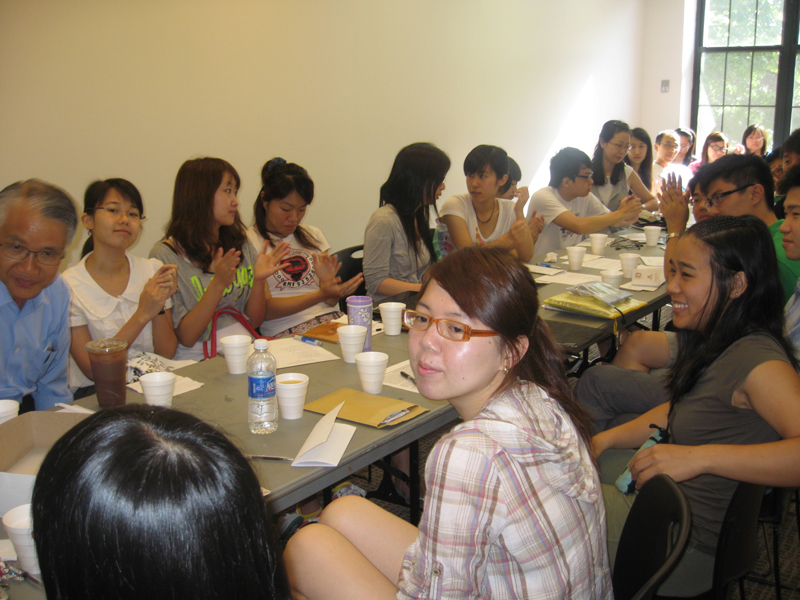
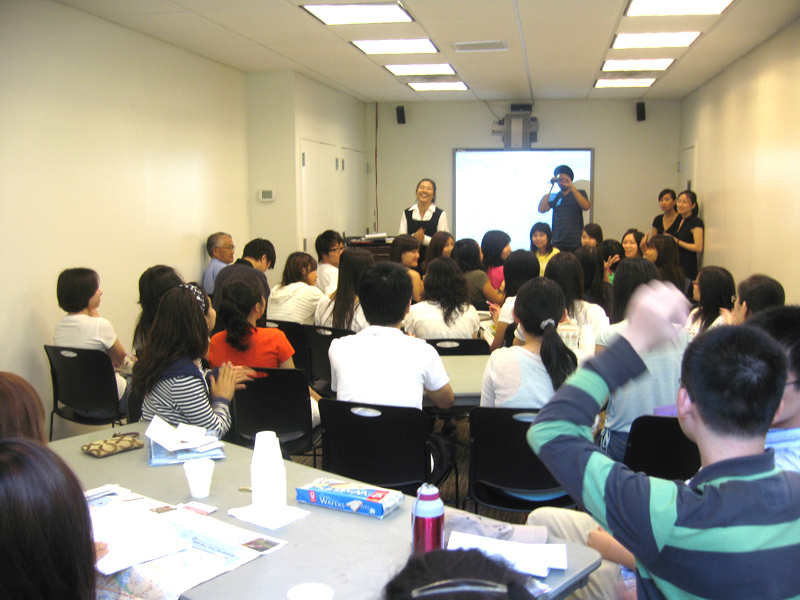
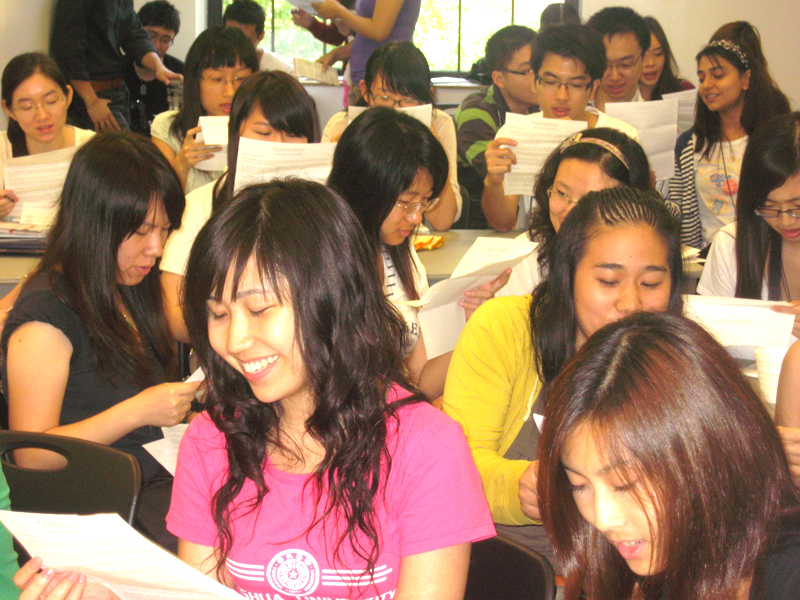
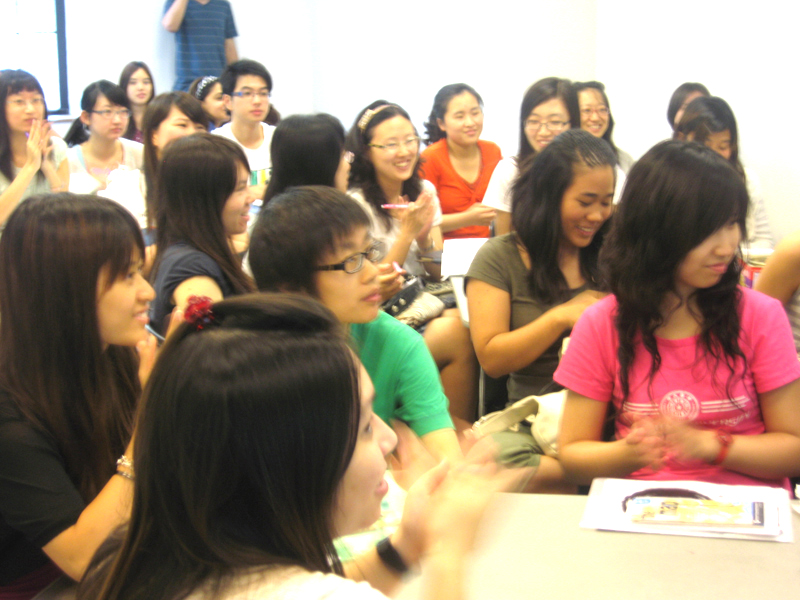
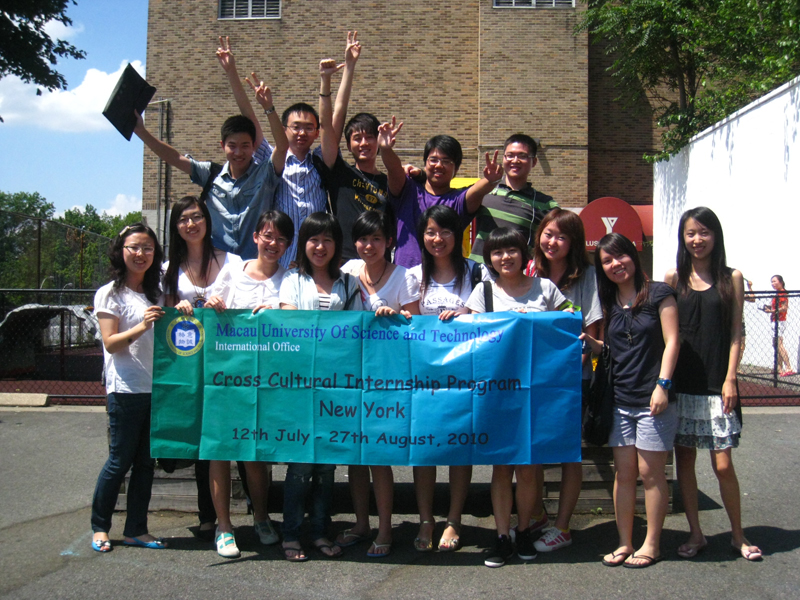
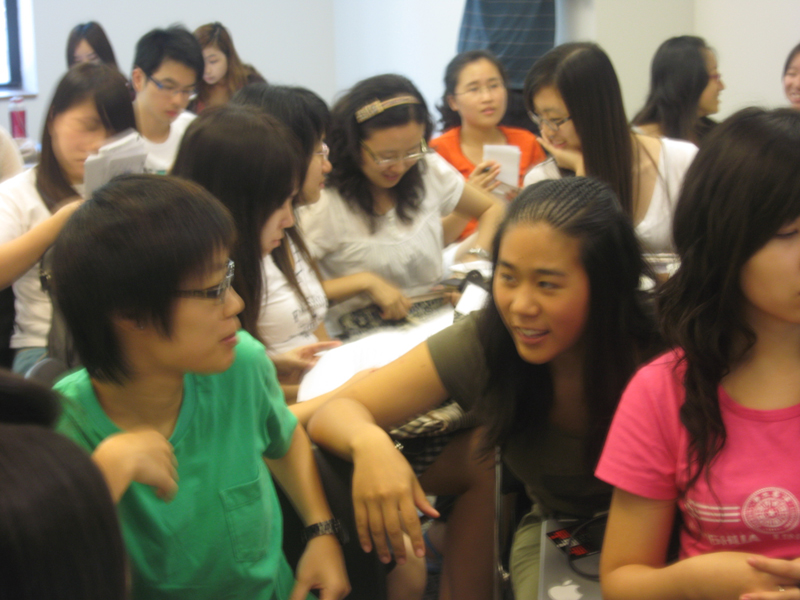
The second half of the 2010 Cross-Cultural Internship Program took place at the Flushing YMCA on Sunday, July 11.
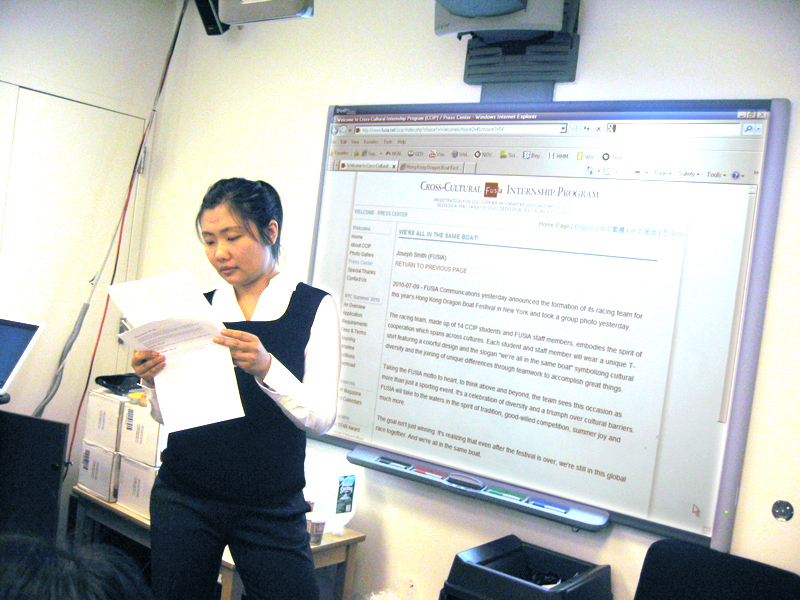
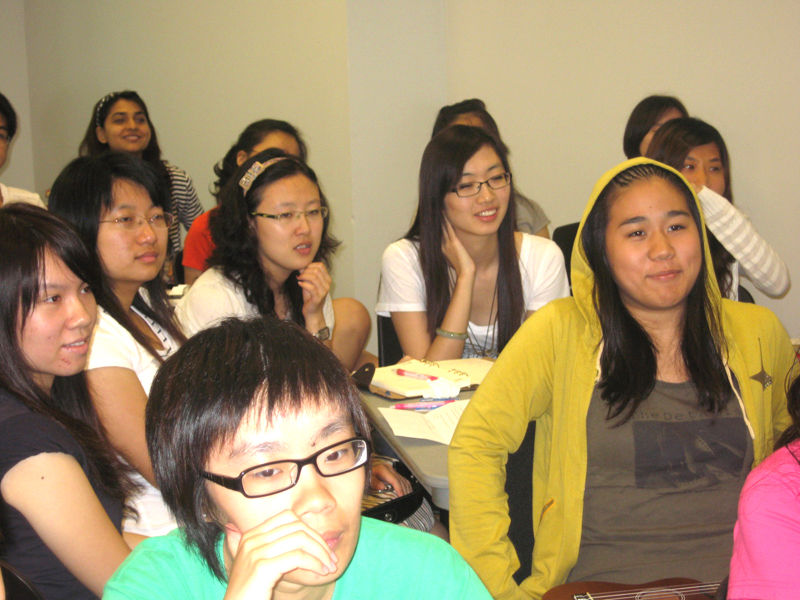
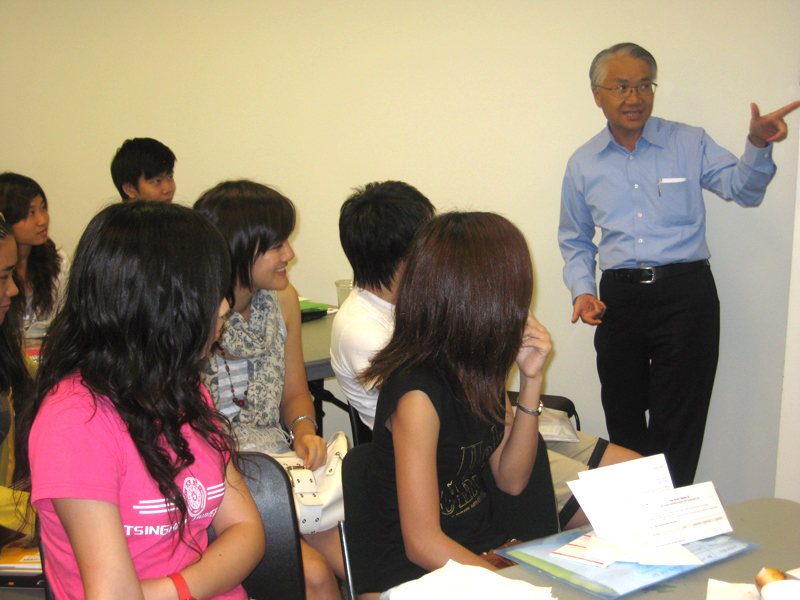
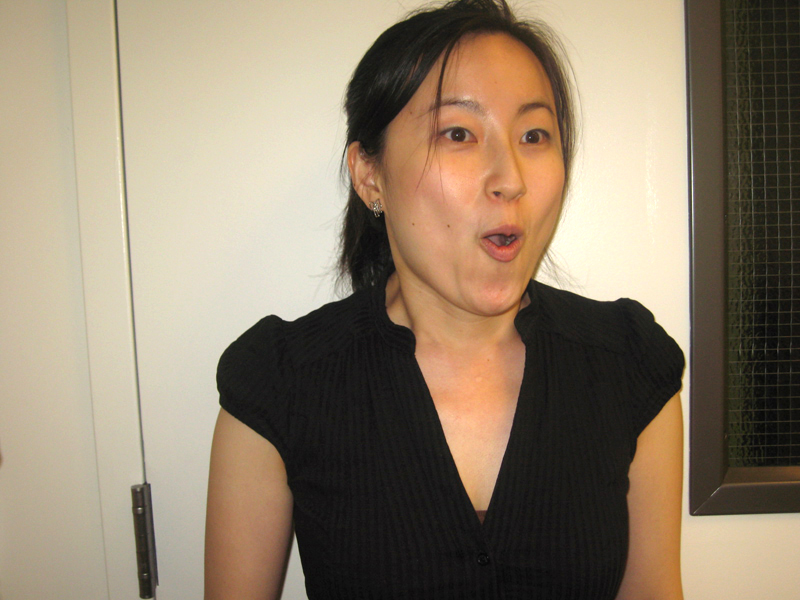
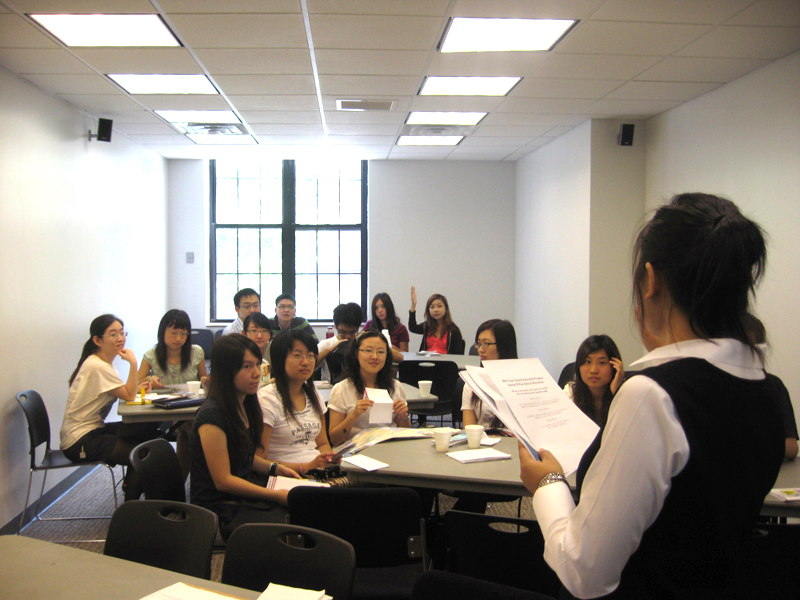
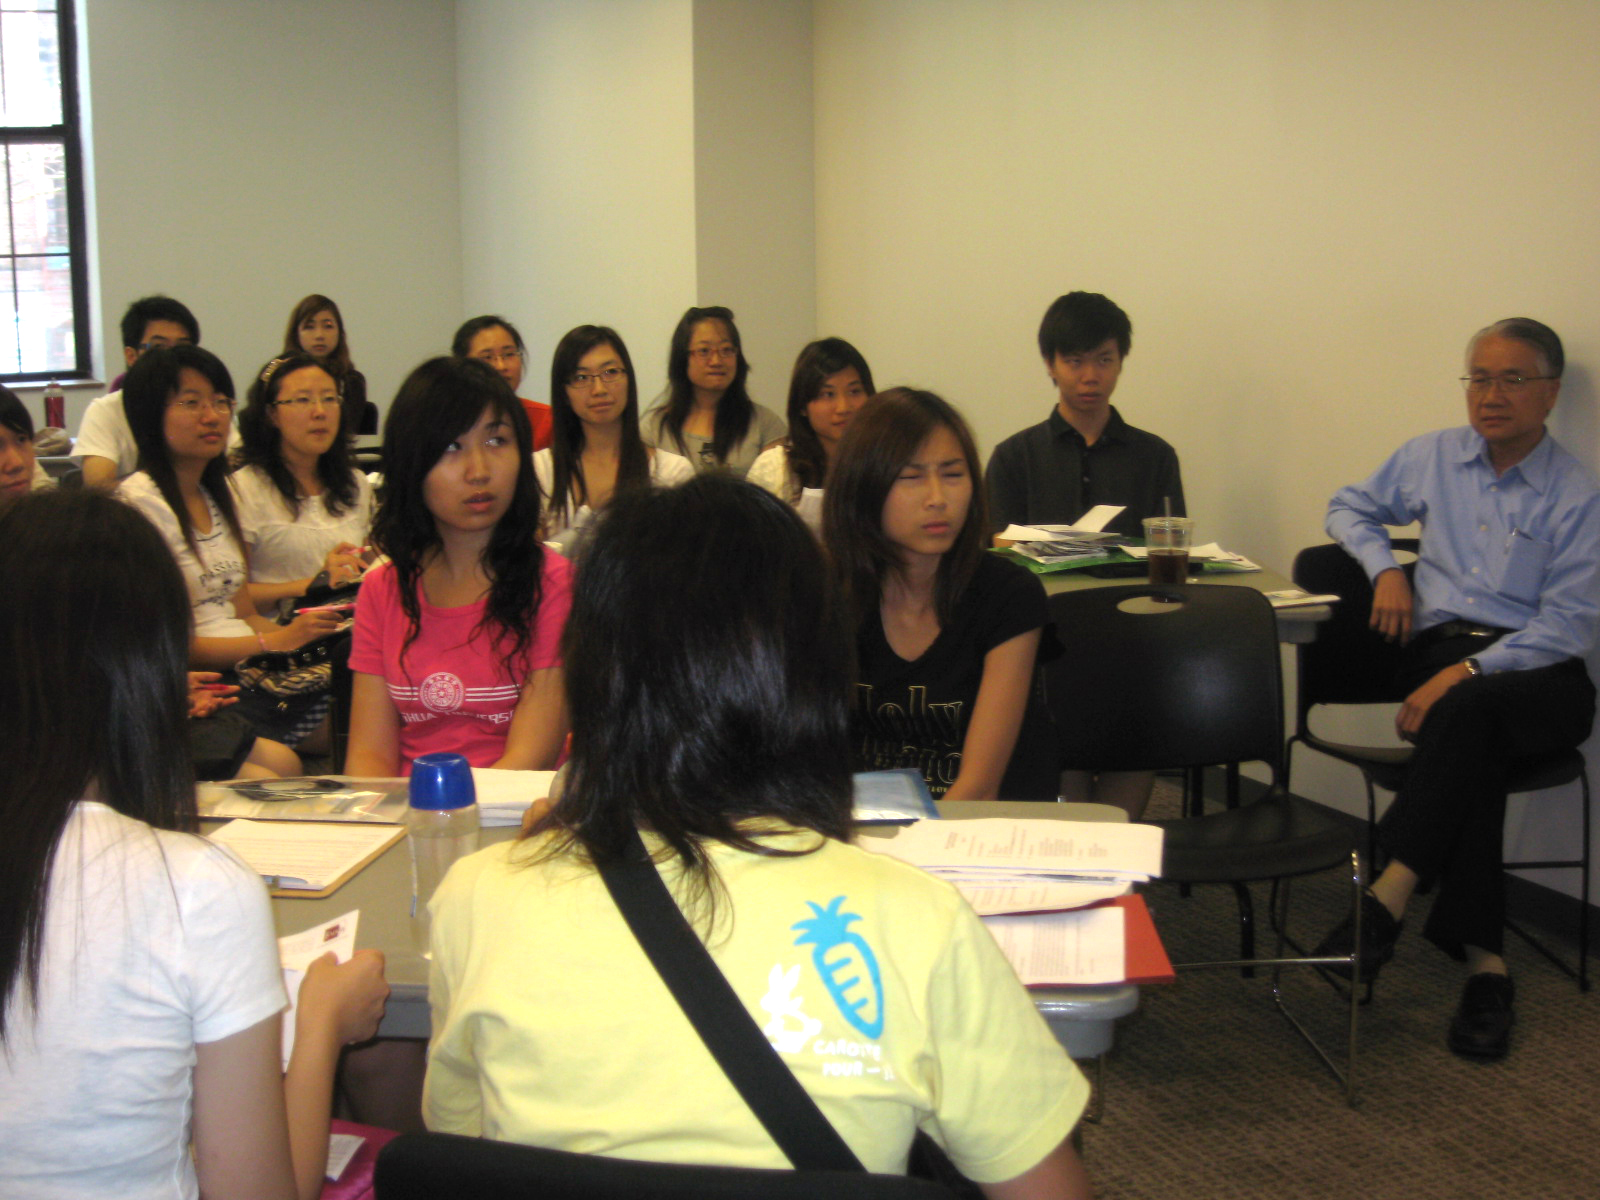
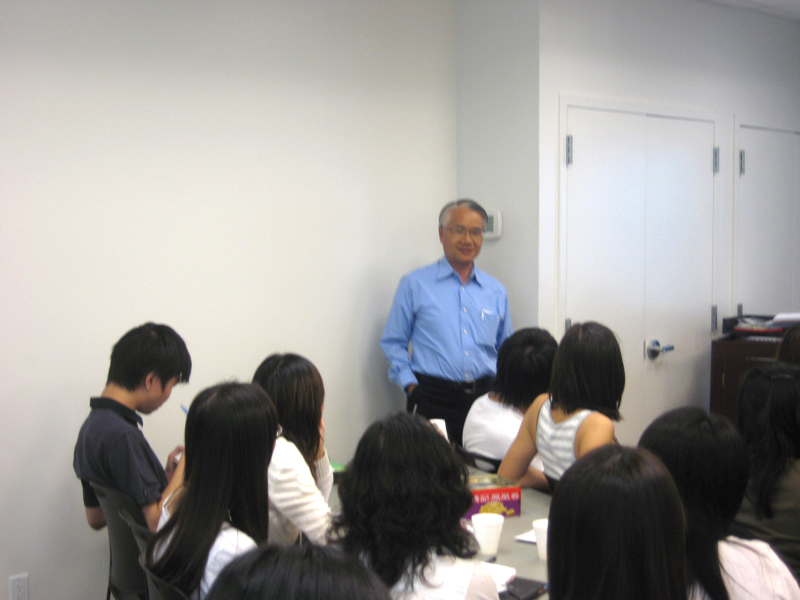
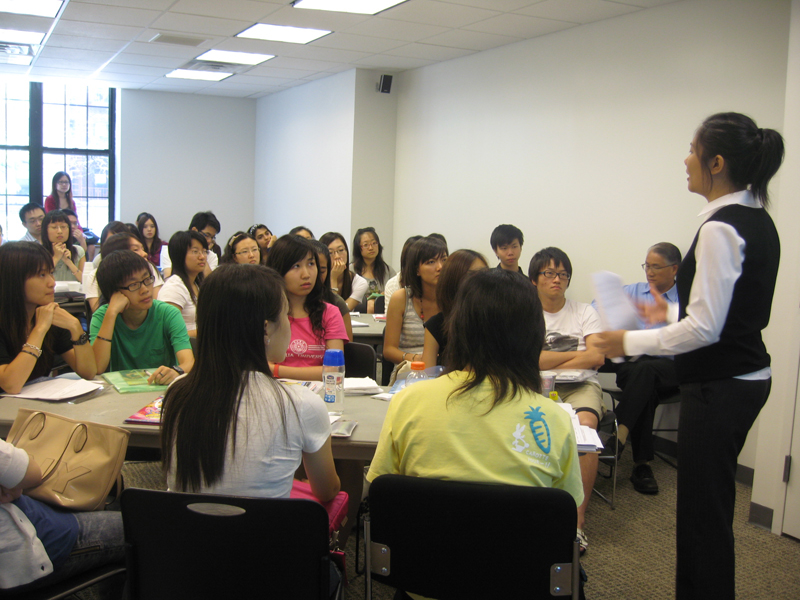
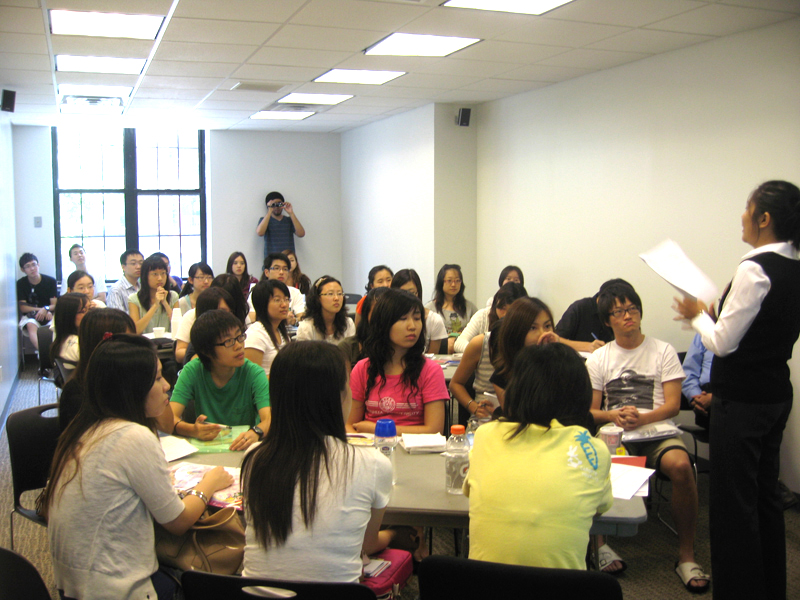
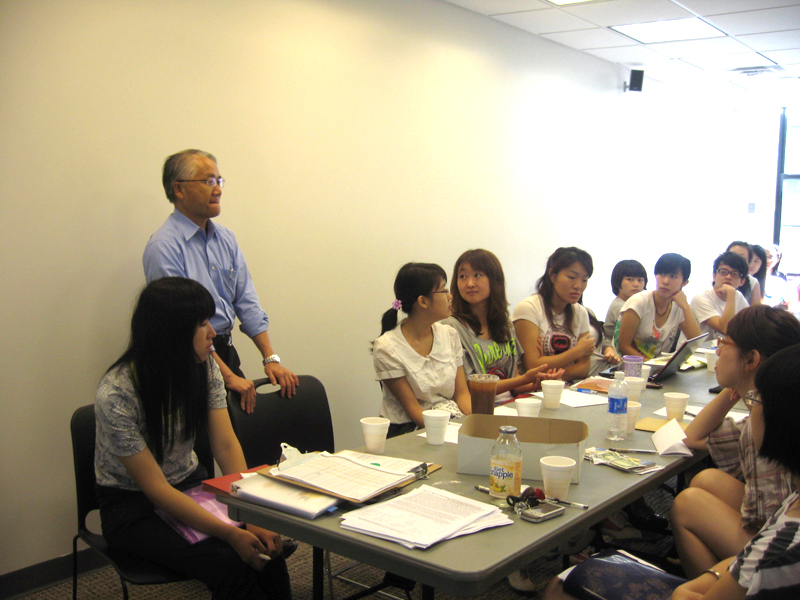
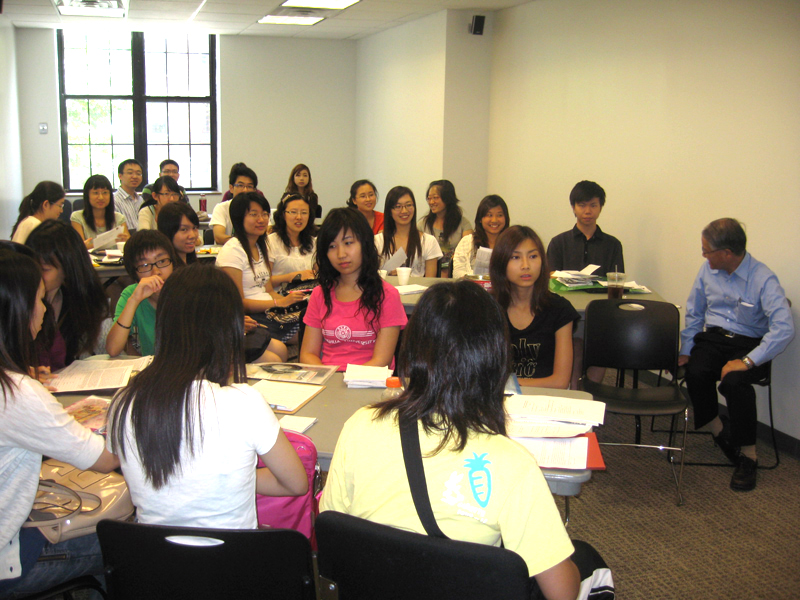
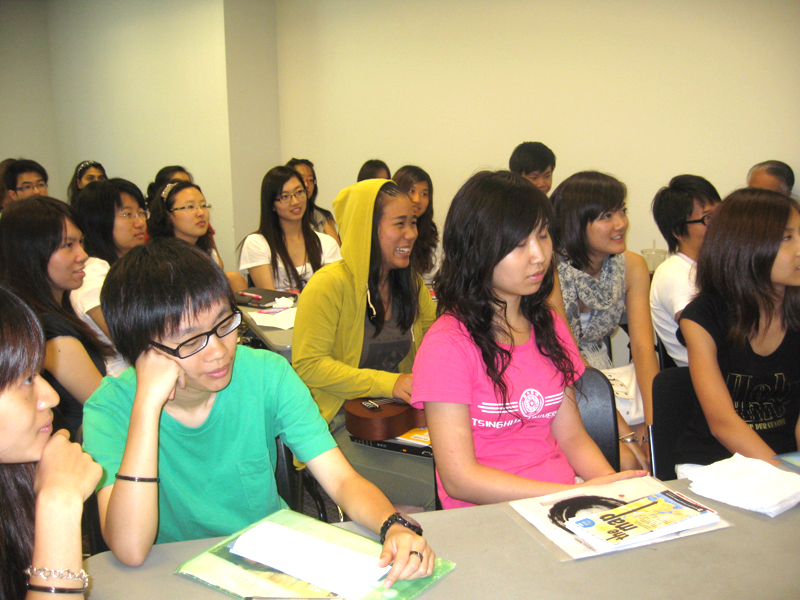
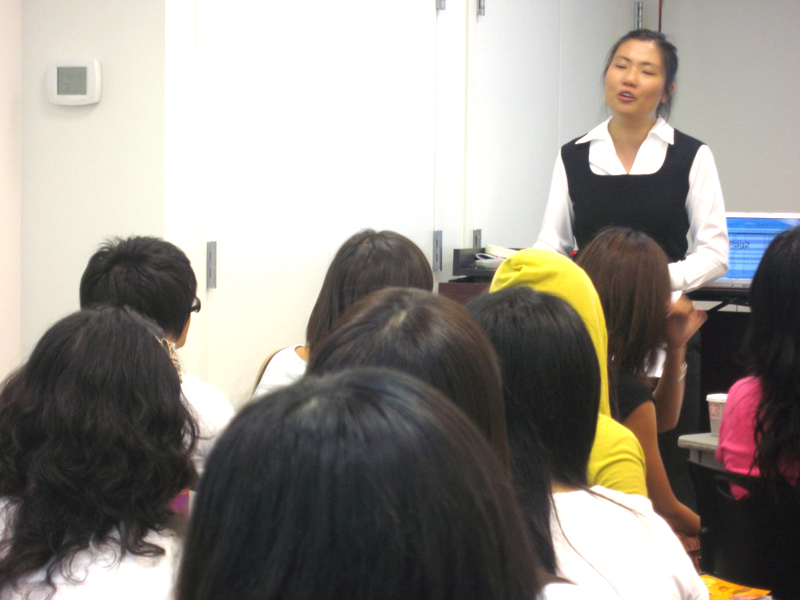
Elizabeth Kay, head of the program, kicked off the Session B Orientation by welcoming students and special guest, Mr. Herman Chan, Director of Careers and Placement at the University of Hong Kong, who took time off from his busy schedule and shared insights with the students.
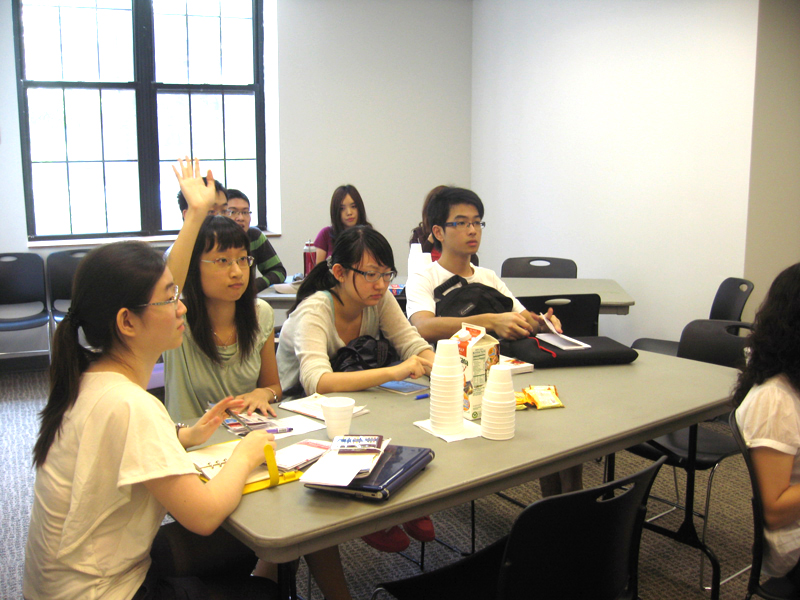
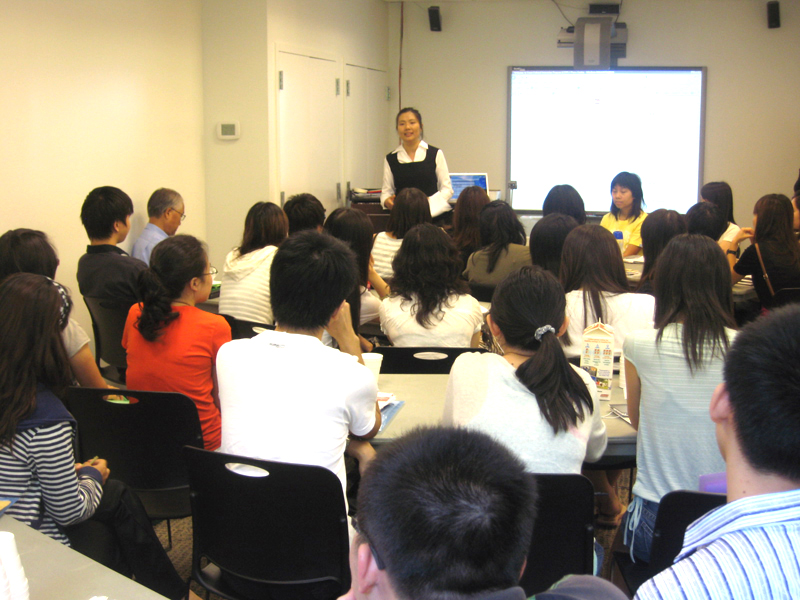
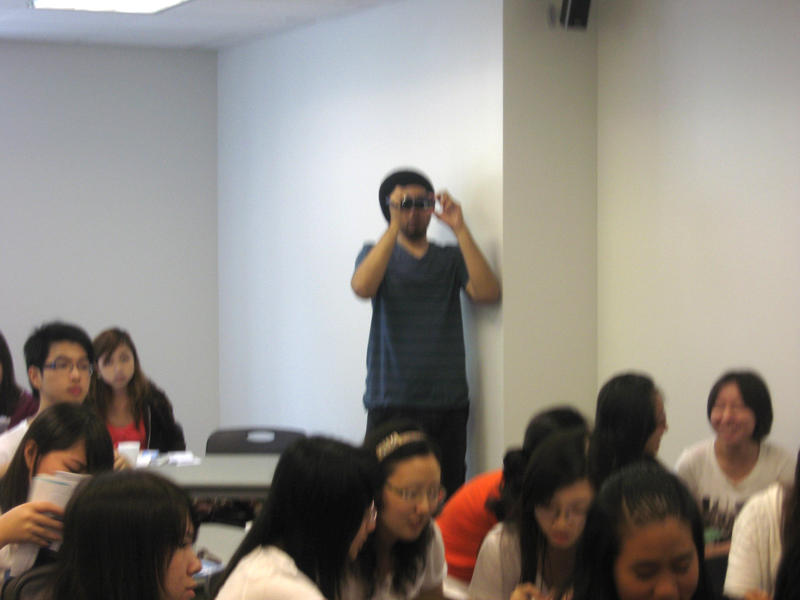
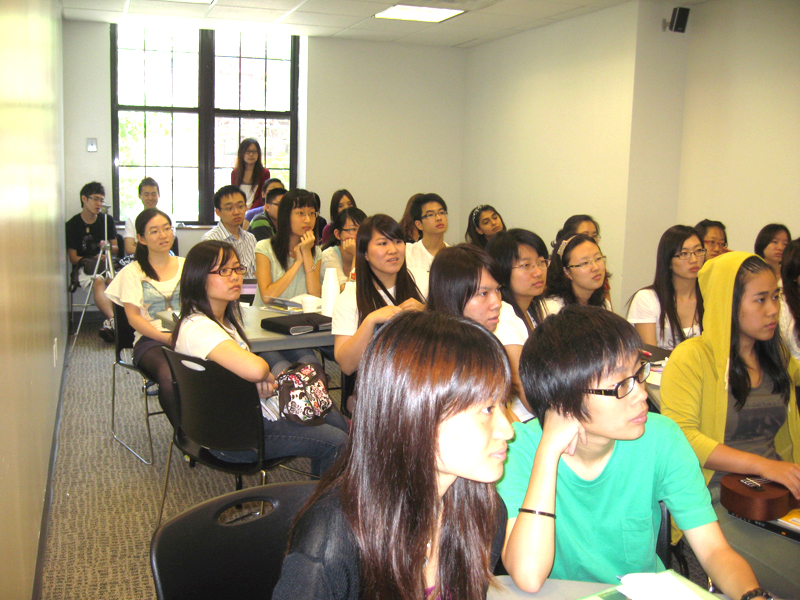
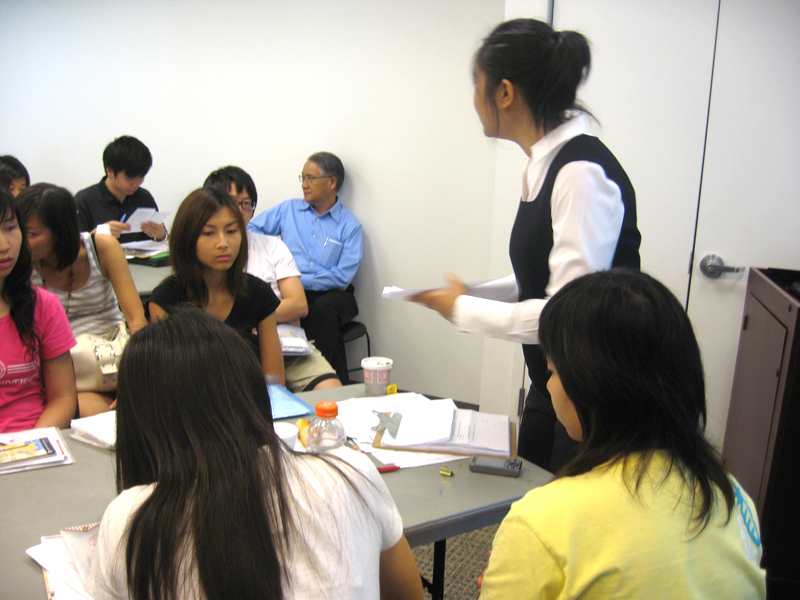
Ms. Kay went over the objectives of the program and some important highlights with the students. She clarified on the definition of an internship in which host companies voluntarily provide a platform and an opportunity for students to apply their academic knowledge and gain practical experience. She asked students to view themselves as "global professionals-to-be" and commented, "Students need to have a different mind-set, take off their 'Asian glasses' and be more open to new things."
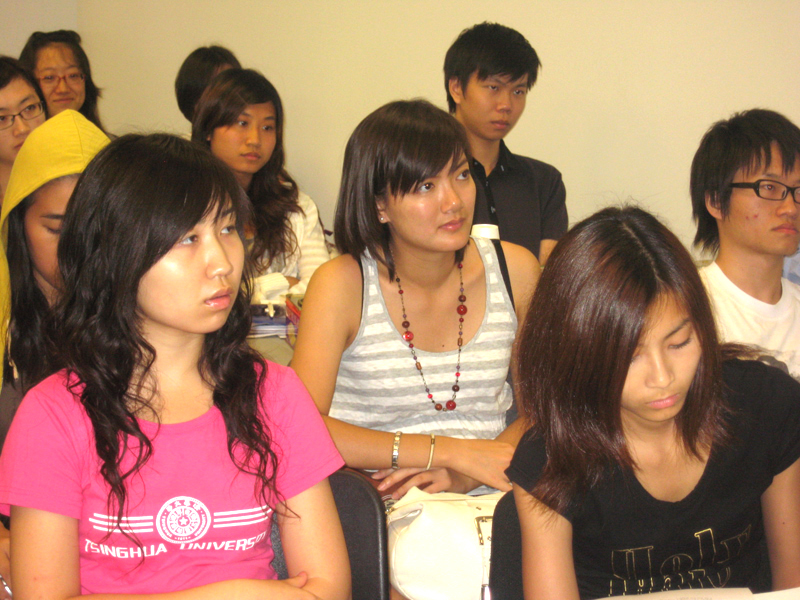
When Ms. Kay roused students to be more proactive, Mr. Chan added, "Competition is tough in the real world. For example, in a Bloomberg interview, a topic was tossed in by interviewers. It was up to the interviewees to elaborate on it. Students should have the best work capacity to stand out," he said.
Sze Long (Sean) Yin, a CCIP alumni and joining the program for the second time, inspired the students to be more open-minded and flexible in order to gain more. He will be attending his second internship at Frontier Financial Advisors located on Wall Street.
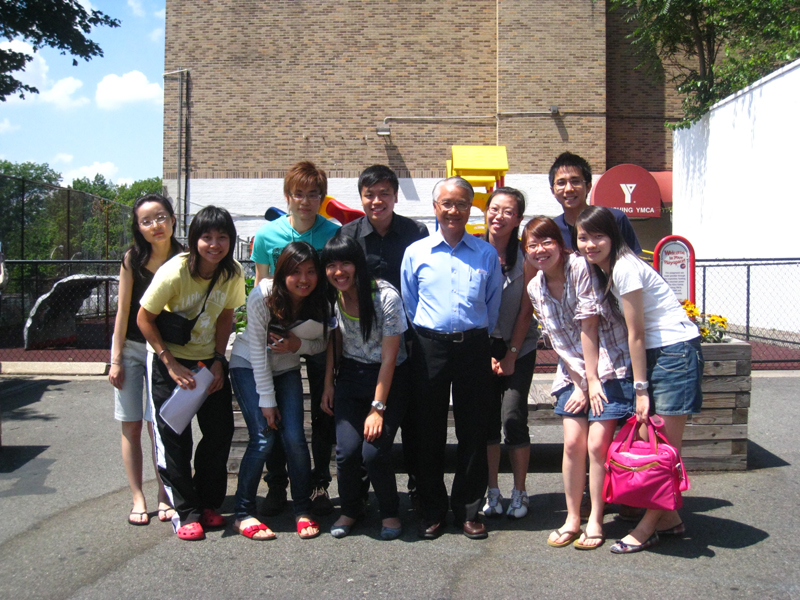
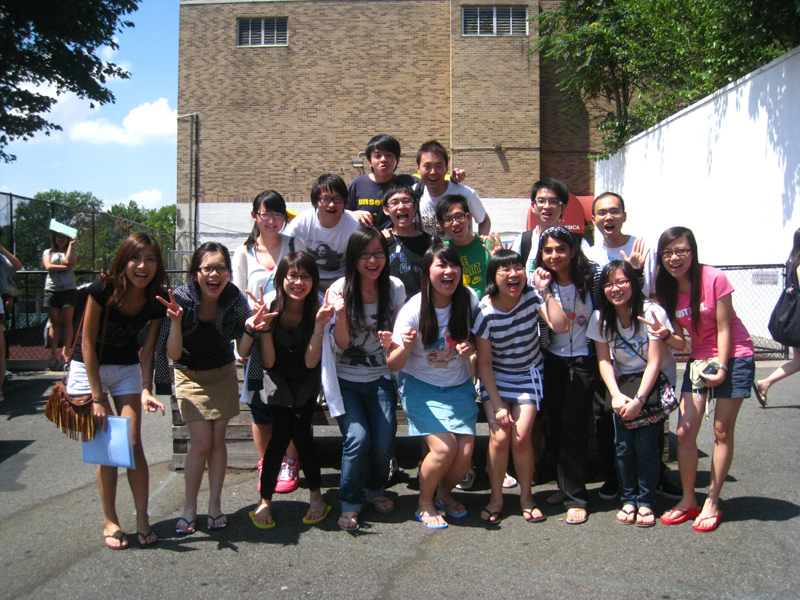
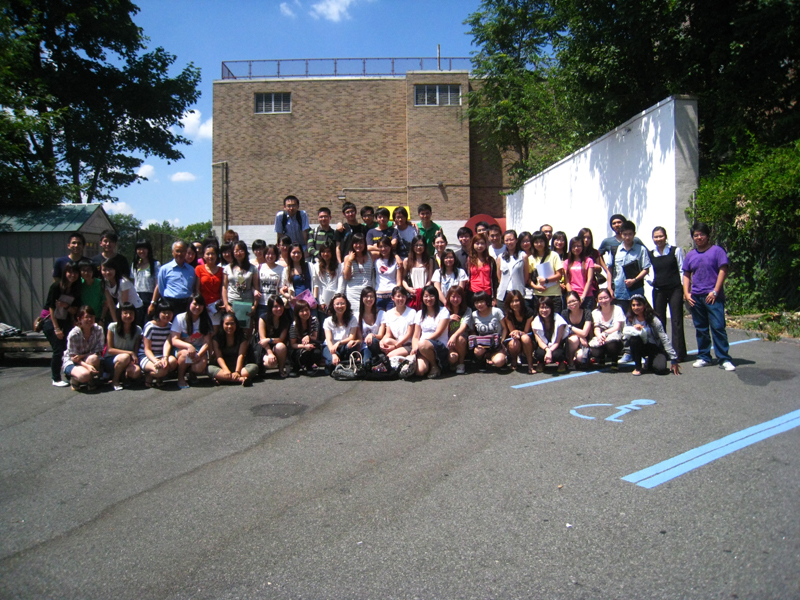
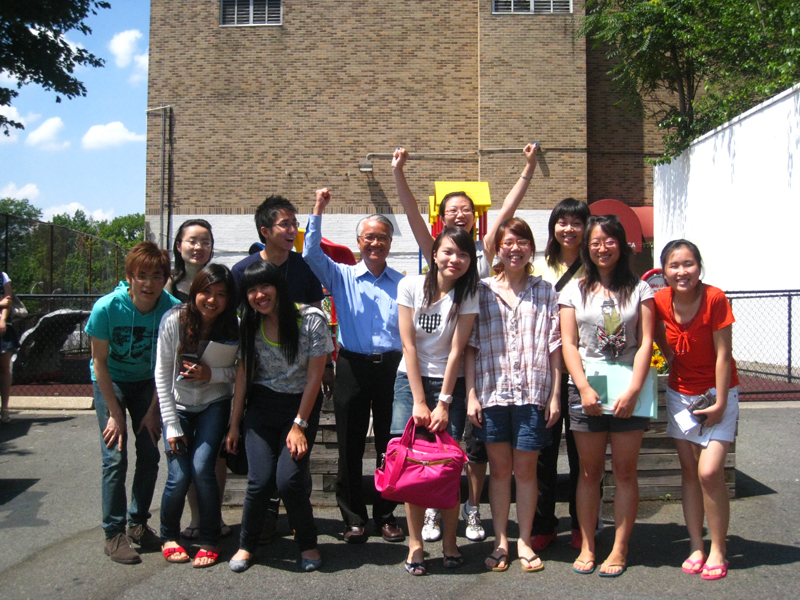
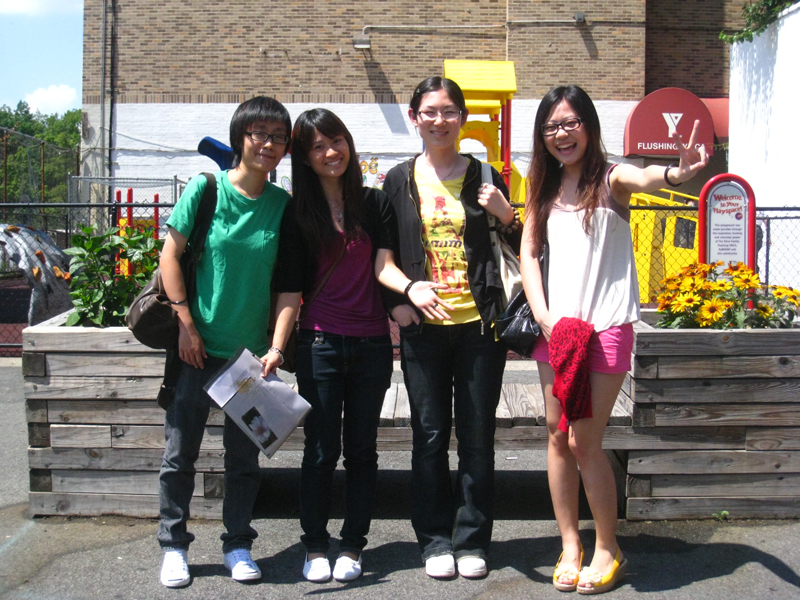
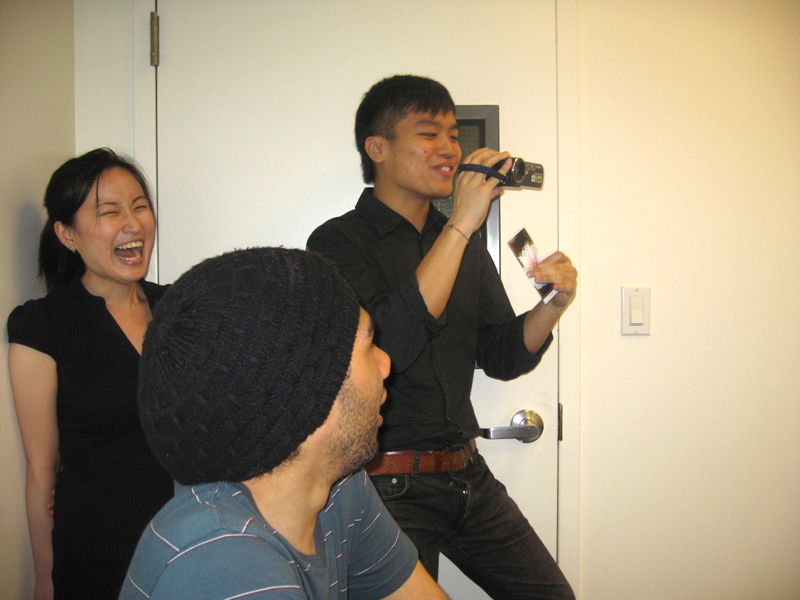
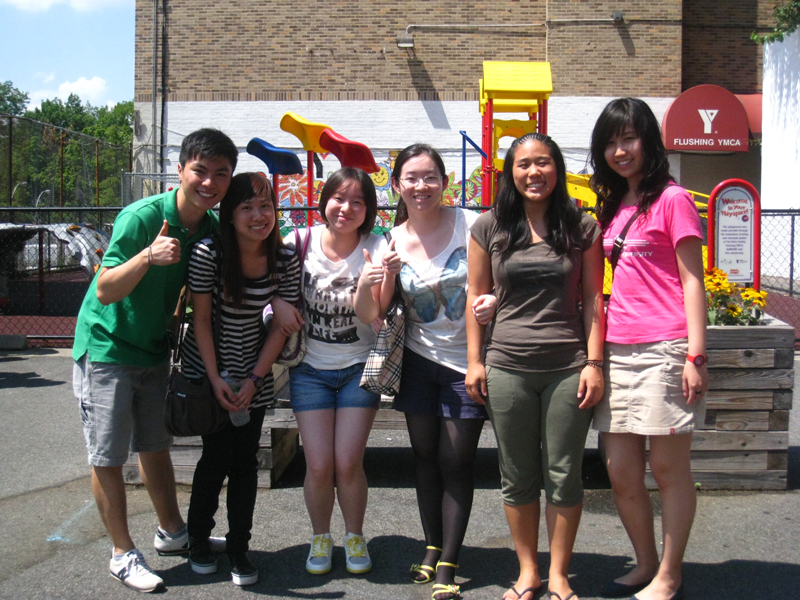
After the orientation, the program gave an induction ceremony. Mr. Chan, students and staff members then gathered outside the Flushing Y for group photos.
Copyright (c) 2025 | All rights reserved | FUSIA Communications